Thursday, August 30, 2012

Toddler Summer Quilts

A beautiful thing has happened to a friend's family! An adoption! My good friend's sister has officially adopted a little girl and the family is welcoming the first grand-child! With such a beautiful event, how can I not craft something from the heart? Colours requested were "NOT PINK", "Probably purple and green" and "she likes really soft things". So I got to crafting and designed a toddler quilt. Then I sifted through my stash to find the perfect materials. I couldn't decide on the light fabrics or dark ones so I decided to make two and decide later. One would be for the newest member of the family while the other I could sell.


Fabrics chosen


The pieces all cut and ready to sew together

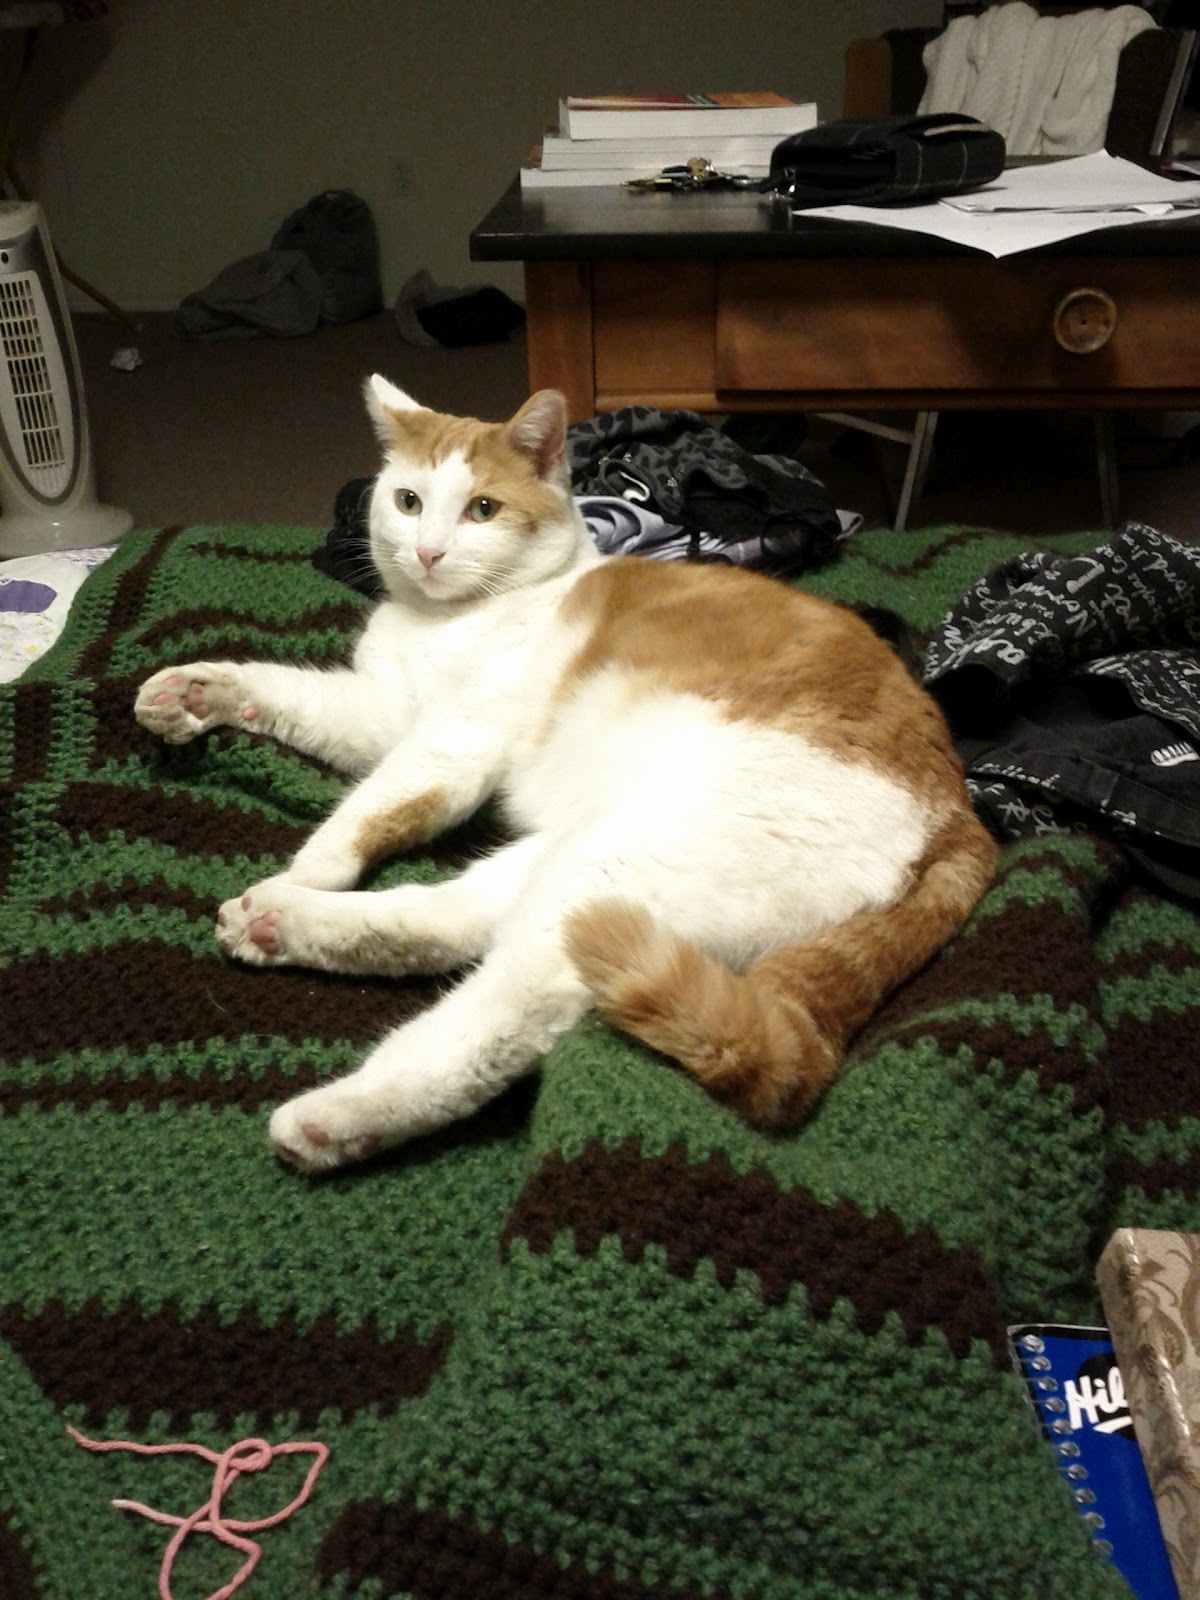
Gurr overseeing my work as usual
Assembly was quite quick. I machine quilted the blankets and so used lots of pins to hold the pieces in place while I sewed. It was my first experience with machine quilting, and I think I might have ended up stabbing myself with pins more often than not, but once it was finished, it was well worth it. The resulting blankets turned out great!!


The first quilt to be done was the light one. Part way through assembly I decided it would be the gift for my friend's family (and the dark one would be for sale once completed)


The dark one sold the day I completed it. How exciting! :)


I truly enjoyed this project and plan on making more at some point. I decided to call these quilts "summer quilts" because of how light they are (no layer of batting). They are very cozy and not too warm.

Project Stats:
Hours / Days worked on: approximately 26 hours in 4 days
Project Deadline: TBD some time in August.
Project Progress:

Design ------------------ Done (21/07/2012)
Materials ---------------- Done (21/07/2012)
Cutting ------------------ Done (21/07/2012)
Sewing (top piece) ------ Quilt 1 Done (27/07/2012) Quilt 2 Done (24/08/2012)
Sewing (assemble) ------ Done (24/08/2012)
Quilting ----------------- Quilt 1 Done (24/08/2012) Quilt 2 Done (25/08/2012)
Completed: ------------- Quilt 1 Done (24/08/2012) Quilt 2 Done (25/08/2012)

Finished dimensions: approximately 44" x 58"


Tuesday, July 24, 2012

Reversible Curtains

     Being in a new home, many things are needed to make it "liveable"; one of the more prominent ones being curtains for my bedroom. What's a crafty girl to do? Make them! I decided to get a "cheap," simple curtain rod from Walmart and use some nice fabrics from my large stash to make myself curtains.  The process wasn't as straight forward as one would think though.  First I had to pick out what colour I wanted my room to be, then find materials to match. I ended up going picking a medium green with an earthy brown accent wall and trim. With those colour chips close in hand I chose two fabrics in matching colours I really liked then got to designing. Since I really liked both colours and was aiming for just plain regular curtain panels, I ended up designing reversible curtains which could be switched depending on my mood or decor.  I wasn't too sure how it would turn out seeing as how I'd only ever made curtains once before and that was well over a decade ago. Also they hadn't been anything impressive, but with so many recent triumphs in sewing, I just dived in and this time around I was very happy with the result, despite a couple mishaps and recuts of course.

My temporary sewing set up.

     With the fabrics chosen and the designs and measurements done I just needed the time and motivation to cut out and sew up the curtains.  As I mentioned before, being in a new home means a lot of things need to be done and one of the less important needs was a table on which to actually do cutting and sewing. Fortunately I have a small light desk which is easy to relocate.  So one a particularly perky day I took out my tools, set up shop and got to work on my curtains.


Gurr enjoying the fabrics.

      I made the loops first. In order to make the curtains TRULY reversible I made the loops half green and half brown.  I was sure to make the loops thick enough to sew them inside out then turn them inside right so that none of the seams would show.  I may or may not have used the end of a wooden spoon handle to push the fabric through itself.

Pieces to make the hanging loops.

The hanging loops, some inside right, some inside out.


Gurr being Gurr.
More Gurr being Gurr.

      Gurr for some reason *always* enjoys a good roll on some fabric. I've yet to determine if this is simply because he enjoys getting in my way or if he loves the smell or the look of it.  Either way, it never fails to be adorable yet hindering. 


 And again with the brown fabric....


      I could sit here and post photos of his mischief all day, but I will spare you.... This time...

      A couple mishaps: first I miscut the brown panels and had to sew on a 6 inch piece. I'm still unsure on if I mismeasured or just mismarked the fabric.  It really is true: measure twice, cut once. Then a few times I sewed the panel backwards and had to undo all my work to start over.  Again, I did the original sewing on the inside, then turned it inside right and resewed in order to hide the seams.


Final product. Side 1: Green side.

Final product. Side 2: Brown.

     As I said at the beginning, I'm quite happy with how this project turned out.  The curtains look and work great.  My only issues are the miscut brown panels (at the top you see where I had to sew on an extension) and the left panel doesn't seem to ripple like the right one when it's open.  The bottom of it just seems to flare. Overall, a great success though and I just might make some more for the living room and take orders for anyone who'd like some custom made curtains for their space. 

     I'm super glad to be getting crafty again. There's just something about creating things that is greatly rewarding.  I have many projects in the works and will endeavour to post them up as I go.  For now, I will sign off but encourage everyone to:

Keep Crafty!

Monday, July 23, 2012

Relocation

     After nearly a year, things seem to be settling down a bit.  I've found a cozy little place to "set up shop" and get crafty again in Ottawa. I'd like to extend my apologies for having disappeared for a few months.  As I tended to more pressing matters in my life, HN&S basically ground to a halt, but now that the dust is settling I've been back to crafting.
     Getting things going again will take a little time, but here is what I hope to accomplish over the next few months:

  • HN&S' Etsy site back up and running by the end of the summer as well as the "Products" page of this site,
  • Weekly Projects to resume by the start of the Fall season,
  • Get the New Line project started up again, not sure how long that will take,
  • Make posts more frequently and consistently.
     The last one will be tricky over the next couple weeks as I will be out of town, but by mid August I should be better with posting.

Zija and Gurr chillin on the couch in the new apartment.

Poor little kitties, relocation is always so difficult and tiring.

     Getting back to crafty,
     Monica

Monday, February 20, 2012

Week 7 : Quick Heart Bookmark

     Since I've been spending so much time working on my big projects I chose to do a quick one this week for the Weekly Project.  Here it is:


     It was super quick to make. I used an F/5/3.75mm hook.

Ch 4. In 4th chain from hook, 3 trc, 3 dc, chain 1, 3 dc, 3 trc, chain 3, slip stitch, cut off leaving a long tail. You can either make a chain as long as you need or just leave it as one strand.  I found leaving just one strand fits better in a book (closes better).  Another neat idea would be to use different shapes for the base. A butterfly could be cute, or a kitty even.  I did notice some cute 3D bases when browsing online.

I'm hoping to put up a post this week on the big projects I've been working on for the past week and a bit, but for now I'm posting pics of them on the facebook page found here.

Have a good week everyone, and Keep Crafty!

Sunday, February 12, 2012

Week 6: Journal Cozy

     This was a neat project idea and I hope to make more of these.  I didn't have any buttons to put but I will be adding them when as soon as I find some nice ones.  Another addition I'd like to make is embellishments, such as a contrasting coloured flower.

    I took the original pattern from here and tweaked it for a journal.  I started with a base row of 26 chains.  The pattern obviously needs to be modified to fit whatever journal you'd like to use.  For the button holes I used doubles then skipped the 4th from the edge (sc, sk stitch then dc in next st).


    I like that I can keep my pen with my journal now.  I hope to make more of these for other various journals I have since I'm a total stationary nut.

Oh and let's not forget my company while hooking up this project:


     Verdict: I liked this project and definitely look forward to making more. Especially some with contrasting coulours, various stitches and embellishments.

    Well that's all for me tonight! Keep Crafty Everyone!

Sunday, February 5, 2012

Week 4 and 5: Facial Cleansing Pads and Holder

This week is a double header! But don't get too excited, it's only because I missed last week's due to a fabulous 60s party.

Week 4: Facial Cleansing Pads

     This is a pretty useful project, especially if you have oily skin, where lots of make up or just wash your face often. I had seen a few photos of these while browsing for dish cloth patterns several months ago and logged it away in my brain as a "someday it would be nice to make these", and well that some day finally arrived.  I tried a few variations and experimented on a few different shapes until I settled on the most functional ones.  Here are the results:

I used Bernat Cotton for all the Scrubbies/Cleansing Pads, the hook size varied per pattern.  Photo captions are linked (except Simple Round, I wrote the pattern beneath it)

Puffy Flower Tawashi

Simple Round Cloth
 This one was pretty easy but proved to be the most useful/efficient

I used a J/10-6.00mm hook [for both the Simple Round Cloth (above) and the Little Flowers (below).]

Chain 4
12 dc in 4th chain from hook, sl st into first dc
ch 3, 2 dc in each dc of previous row, join with sl st
cut and weave in end

Little Flower Cloth

     So far they work great and I'm lovin' them!

Week 5:  Facial Cleansing Pad Holder

     Now that you've made the Cleansing Pads you need somewhere to keep them.  Well here you go:

     I used Red Heart Acrylic pink yarn to match the scrubbies somewhat. Original pattern linked below, I used the pattern's recommended size hook.


     I based this item on the pattern found here.  After row 5 I just continued with the dc (basically repeated row 5 another 3 or 4 times).  Once I got to the height I wanted I finished off with the same cotton yarn I used for the Cleansing Pads but in a shell pattern:

Join yarn to work, Chain 1, dc in 2nd st from hook, 4 dc in same st, * sk next st, sc in next st, sk next st 5 dc in next st repeat from * to end.  Cut and weave in ends.

     And all together now:


     Like I said, I'm quite happy with the outcome of this project and use it daily :)  I hope some of you find it just as useful and fun to make.  It was a very quick project to make, took a couple hours in total and very well worth the effort.

     So that's the project for the week, hope you all enjoy!

Keep Crafty Everyone!

Sunday, January 22, 2012

Week 3: Tawashi!! (Eco Scrubbies)
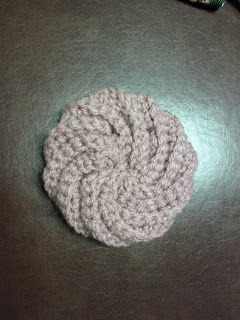
     Since I moved into my new place my list of "to buy" items has filled up pretty quick with cheese graters, dishcloths and everything in between.  This week, while browsing for a project to work on I took a look at some dishcloths and scrubbies.  Earlier in the week I noticed a friend on facebook mentioned making scrubbies so I looked some up and decided to give it a try myself, here is what I've come up with so far;

Tawashi (Eco-Scrubbies)

    I looked up a few patterns and tried out 3 of them.  There's a few variations I'd like to try at some point in the future, experimenting with different yarns and stitches, but the patterns seem quite promising.  

Spiral Scrubbie

Tawashi Knot


Tawashi


     My fav so far is the Spiral Tawashi.  My next endeavour will be to combine the acrylic yarn and cotton yarn with the Spiral Tawashi pattern.

I'd love to go into more detail but that will have to wait until tomorrow or Tuesday as it is late and I gotta get up early for work.  The patterns for both the Spiral and Regular Tawashi's are both found online, (click on the photo for the link) the Tawashi knot however was a purchase pattern that I improvised on.  I will share the pattern once I've tweaked it a bit and write it out.

Have a good night everyone!